What why?
A while ago I found an interesting post on the arduino forums about
a guy who made a 8×8 LED panel for his friend to use to visualise when
playing music. So when I was browsing my local thrift-store
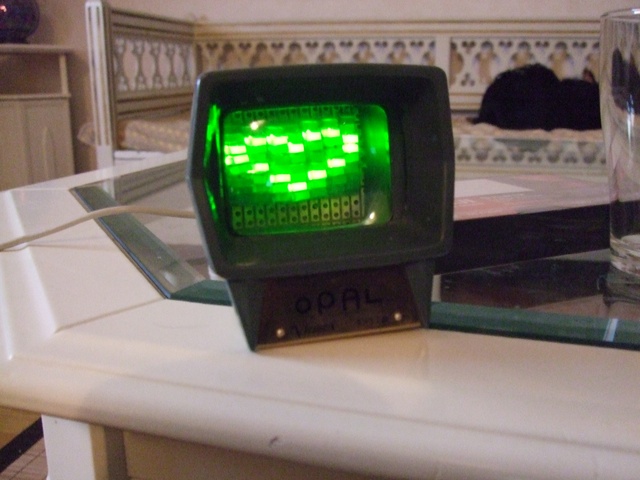
I found an old slide viewer (for you kids, it’s an old pre digital way
to take photo’s).
-Hell yeah I thought (but in Swedish) this would look sweet if I mounted
a bunch of LED’s in it. So i bought it for 15 SEK. (1.51 EUR or 1.9 USD)
Hardware.
I have already made almost all of the arduino-code I needed on my
moanonme. Also the 8×8 LED matrix is no mystery to me. If you want to
recreate it it’s dead easy. First you read the shiftout tutorial on
arduino.cc and make one of those a bit more permanent. After that you
make 7 more rows with led’s and connect each row’s gnd to a different
pin on the Arduino. Then with a little bit of code magic you write to
the shift register which led’s that are on on a specific row. that row
being set to “read” in the software forcing that row to be the only one
that is lit. By doing this superfast you’re eye wont notice the difference.
This might sound easy, and it is, unless you do it on a small scale. The
Lens on the slide viewer was only 3*4cm so I needed LED’s that would fit.
I found some green that fitted perfectly. I tried to glue them toghether
first but in the end that was all a big heap of fail. easiest was to use
a perfboard and mount them on that. I used an iDuino board since these are
smaller and thus easier to mount inside the pretty cramped battery
compartment inside the box.
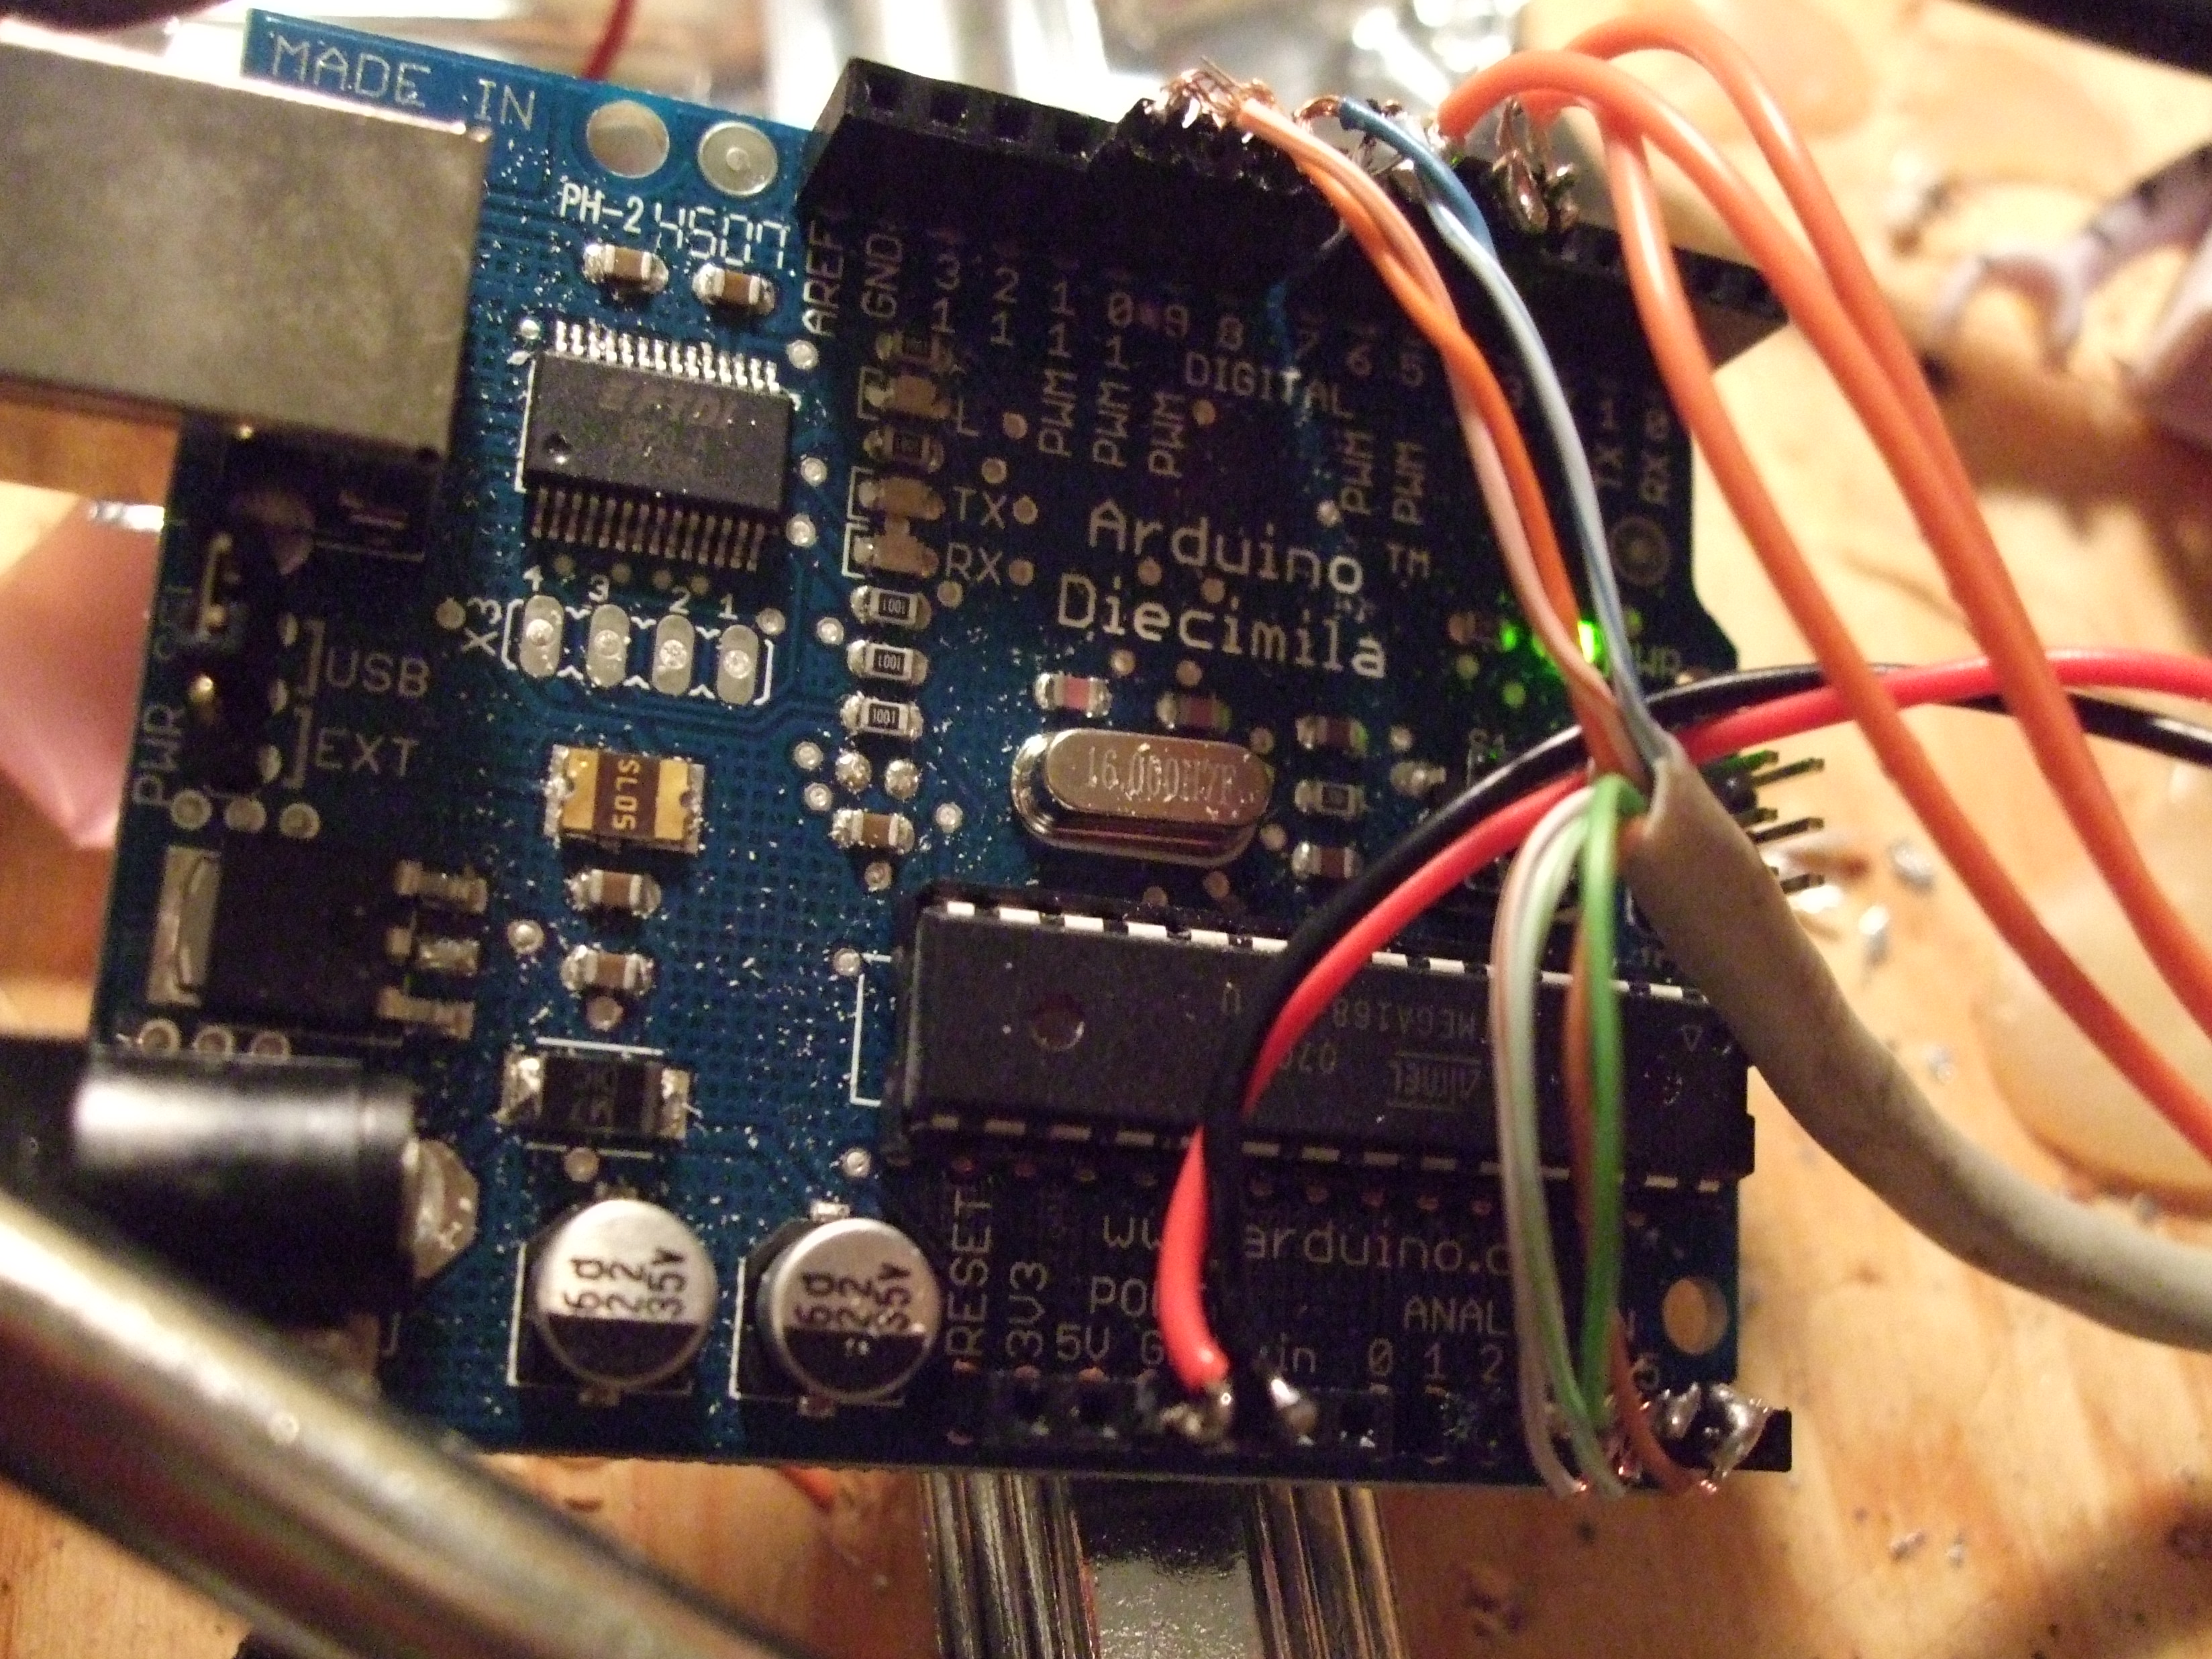
Decimilia used for prototyping
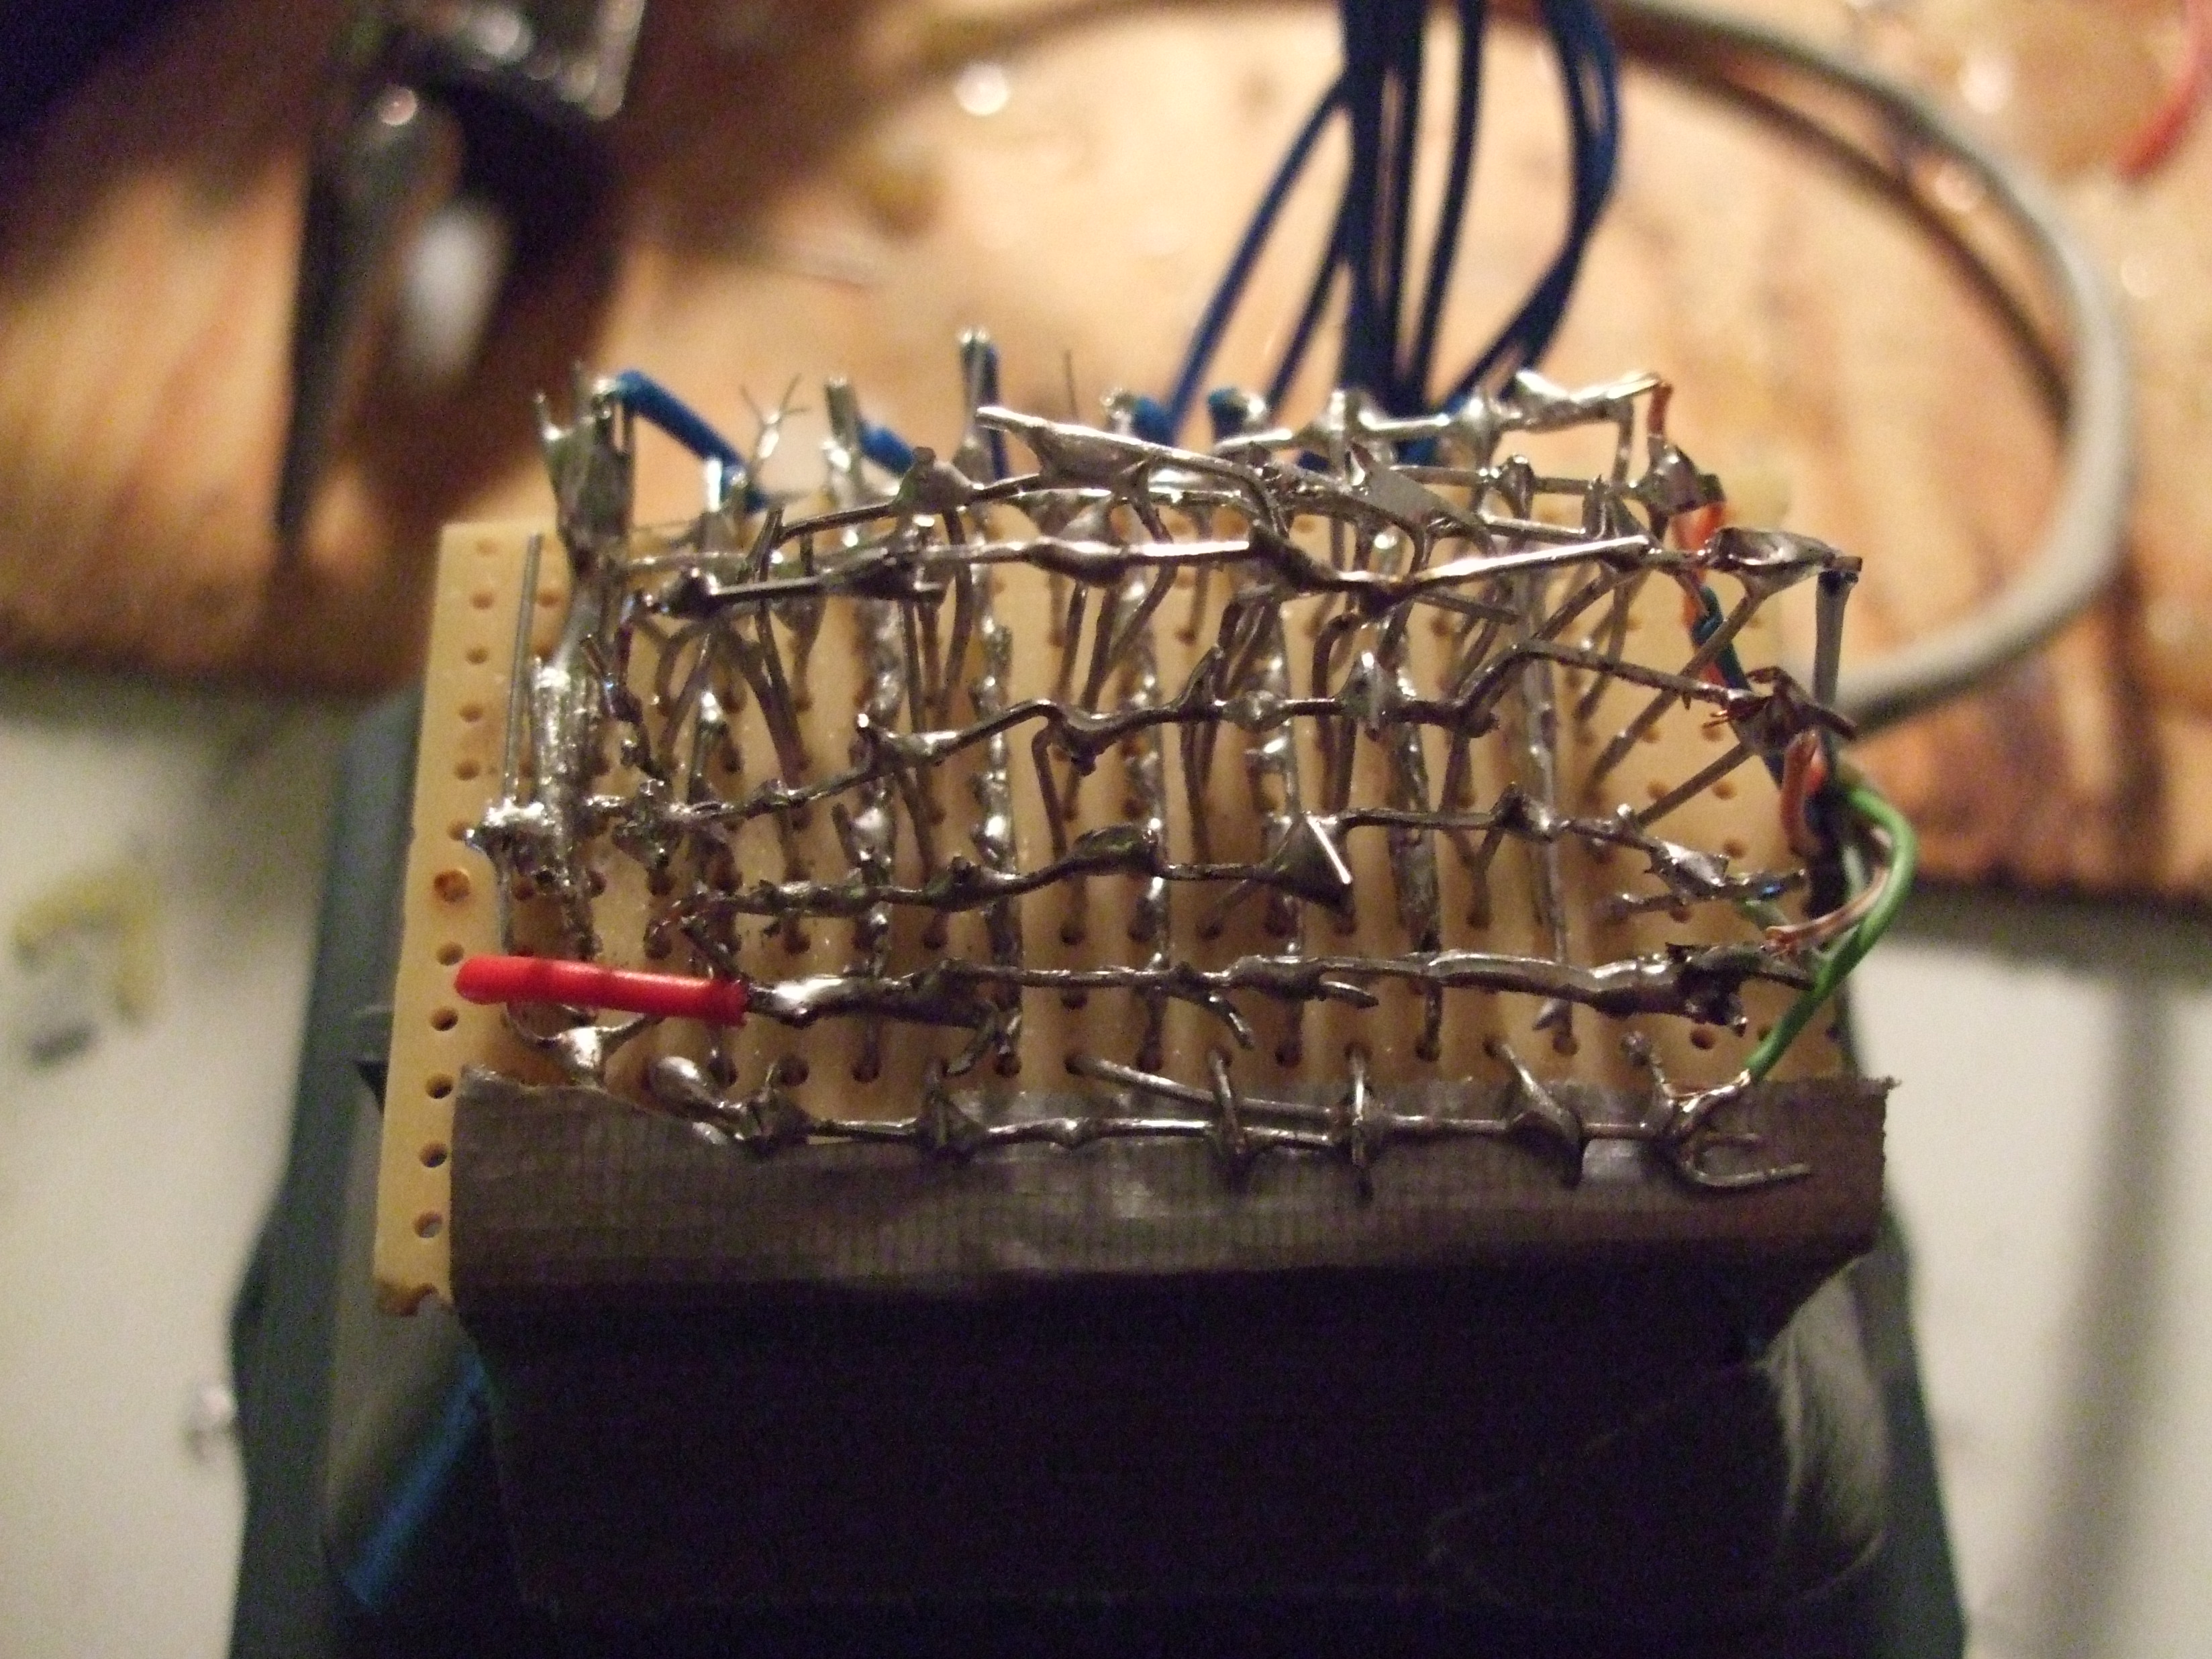
Backside of LED matrix
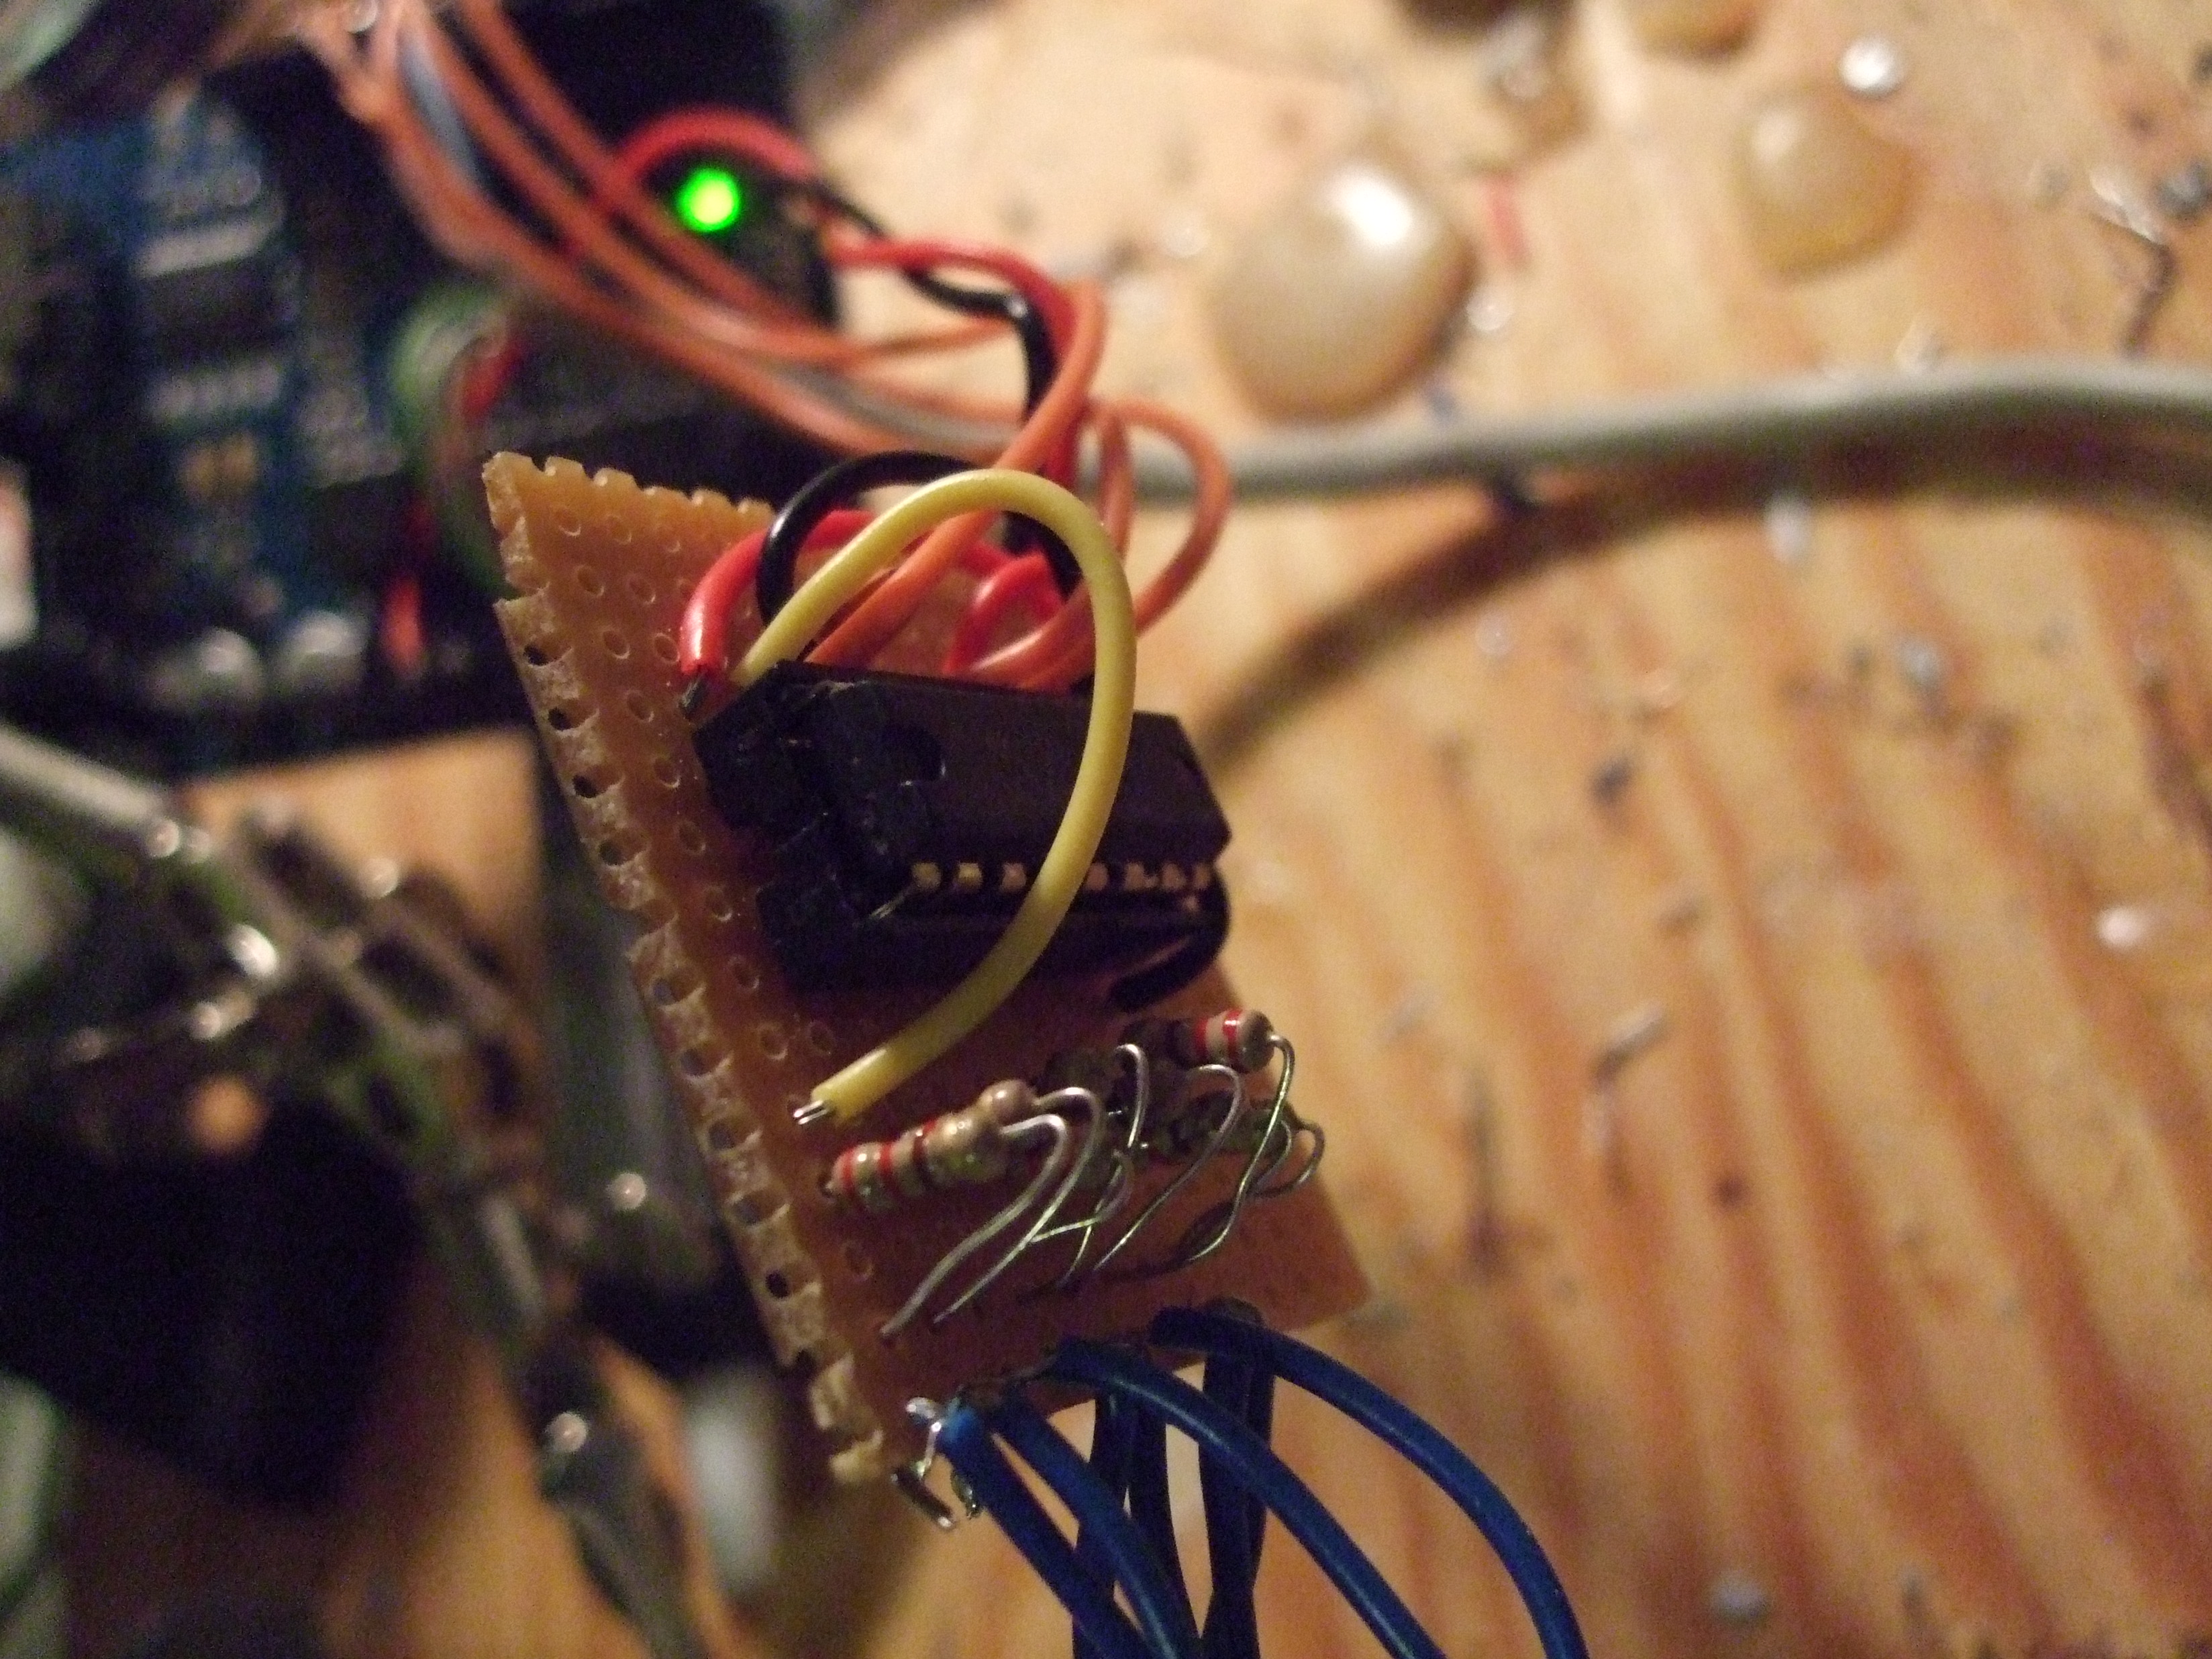
The 595 chip shiftout for the led’s
Software
There where a few features I wanted of the finished build. I wanted to
easily create sprites/images. And I wanted to be able to controll the
displaying of the images from within Ableton Live. Prefferably as a
MIDI device so I would not have to code yet another VST.
So yep a very tiny little Arduino program which you can get here
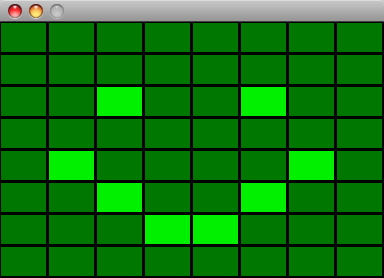
So I made a little processing sketch that let’s you draw on your computer
screen and both show it there and on the device. This was as really easy.
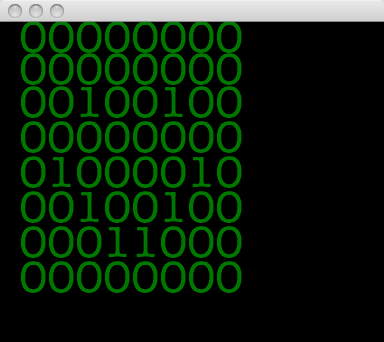
Press 2 to paint, 3 to erase and 1 to print the image in data format so
I can copy-paste it to a server program. I choose to print the data in a
human readable/modifiable code so I could change it without the program if
I wanted to.
Here it is if you want to play with it: opalpainter.pde (you’ll need
processing)
So to the serverside. Easypeasy aswell as always with processing, chose
another type of visualisation though. It all worked well until I tried
to get any of the MIDI processing solutions to work. fail fail fail.
It works though, and here it is for your playing fun: opalserver.pde
1 and 2 to flip between your images
So in the end I reused stuff from the moanonme project. os x serialport and
MIDI in from a totally own port. Most of this code is not written by me
although I’ve seen that os x serialport stuff on more then five different
places on the internet so I’m not really sure who’s the original author.
Anyways, this program listens to midi-in and tells the arduino to display
graphics I hooked up to the current MIDI note. get it here
The video
What would a build be without a video? nothing, since nobody reads these text’s
of mine that’s what!
Total Cost:
Arduino iDuino 17.82 USD
Diabildsvisare 1.91 USD
LED’s 4.57 USD
some wire and solder 1 USD
——————————-
Total 25.3
just below 200 SEK, NICE!
Hello,
This looks like something that will work for what I want – to light an LED on each of a piano when the corresponding not is played via MIDI. If you have something that is better or will work please share with me, I will more than be happy to purchase it.
Thanks.
Garnet